Introduction to Canned Deer Meat Recipes
Canning deer meat is a game-changer for anyone who loves wild game but doesn’t want to rely solely on freezer storage. It’s not only convenient but also a practical way to preserve venison for soups, stews, sandwiches, or even quick snacks. Plus, with proper techniques, canned venison retains its flavor and tenderness for years. This guide covers everything you need to know about canned deer meat recipes, from preparation to canning and beyond.
Why Canning Deer Meat Is a Game-Changer
First off, canning venison solves the common problem of freezer space, especially after a successful hunting season. It also provides a shelf-stable option for long-term storage, which is perfect for preppers or anyone looking to reduce reliance on refrigeration. The process of canning seals in the natural juices, making the meat tender and flavorful.
Another reason to love canned deer meat is its versatility. Whether you’re short on time or whipping up a hearty dinner, canned venison is ready to heat and eat, saving you the hassle of defrosting and cooking from scratch.
The Benefits of Preserving Your Venison
Preserving venison through canning has many advantages:
- Convenience: Ready-to-use meat in minutes.
- Longevity: Properly canned venison lasts for years.
- Flexibility: Use it in countless recipes like stews, tacos, and more.
- Nutritional Value: Retains nutrients while eliminating the need for preservatives.
Essential Tools and Equipment For Canned Deer Meat Recipes
Must-Have Items for Canning Success
Before you start your canned deer meat recipes, gather these essentials:
- Pressure Canner: A must-have for safely processing low-acid foods like meat.
- Mason Jars: Use pint or quart-sized jars for storing the venison.
- Lids and Rings: Ensure a tight, safe seal.
- Jar Lifter: For safely handling hot jars.
- Sharp Knife: Essential for trimming fat and silver skin from the venison.
Pressure Canning Basics: What You Need to Know
Using a pressure canner is non-negotiable for canning meat. It eliminates harmful bacteria, such as botulism, that can survive in other methods. Here’s a quick rundown:
- Pressure Levels: Use 10 lbs at sea level or 15 lbs above 1,000 feet.
- Processing Times: 75 minutes for pint jars, 90 minutes for quarts.
- Safety First: Always allow the pressure canner to cool naturally before opening.
Ingredients for Canned Deer Meat Recipes
Core Ingredients: Keep It Simple and Flavorful
For a basic canned deer meat recipe, you’ll need:
- Venison: Trimmed of fat, silver skin, and gristle.
- Salt: 1 teaspoon per quart jar for seasoning.
- Optional: Pepper, garlic, or onion for extra flavor.
Optional Add-Ins: Herbs, Spices, and Veggies
If you want to get creative, try adding these to your jars:
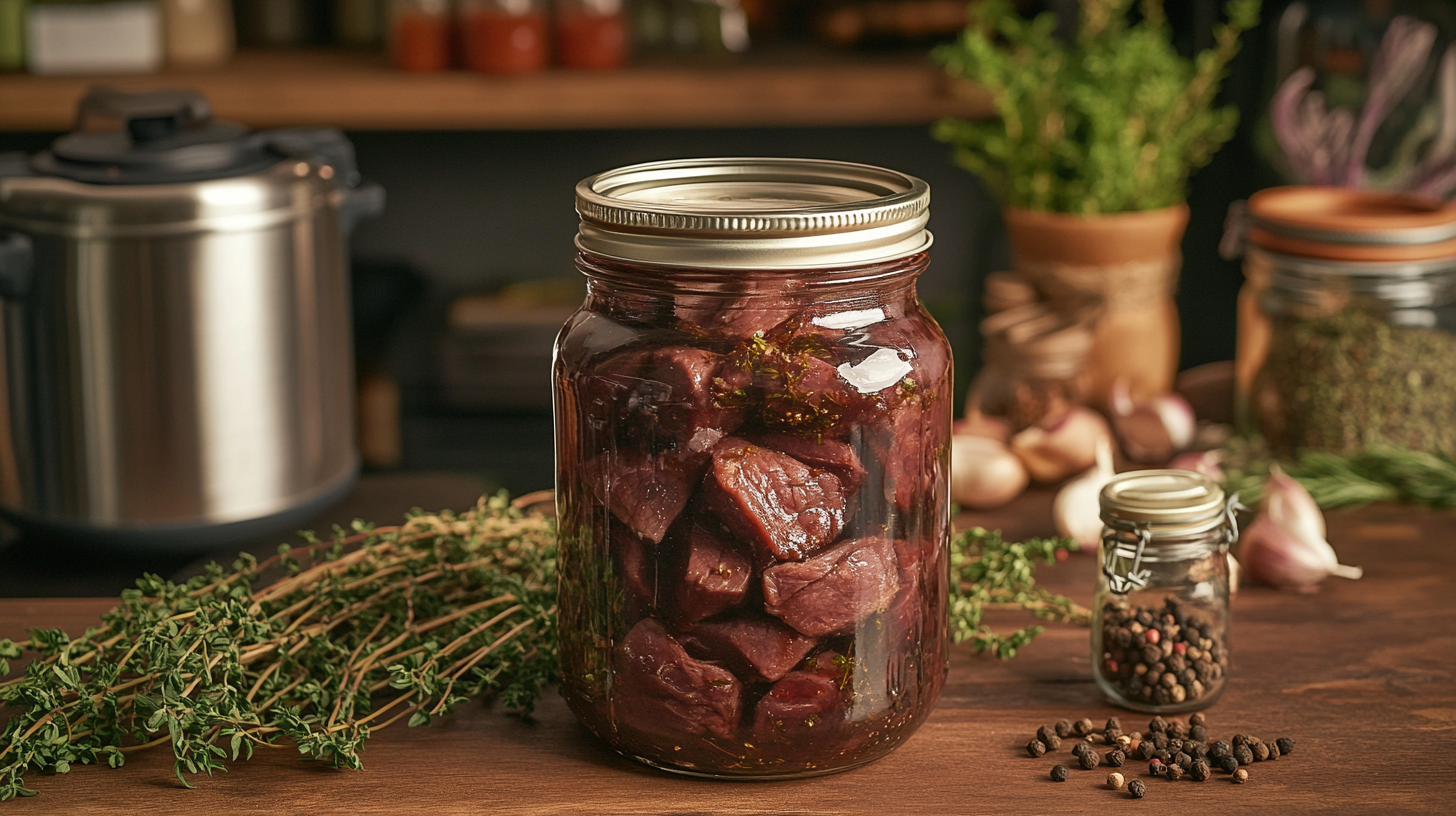
- Herbs: Thyme, rosemary, or bay leaves.
- Vegetables: Diced onions, bell peppers, or carrots.
- Broth: A splash of beef or venison stock for added richness.
Preparation Steps for Canned Deer Meat Recipes
Cleaning and Prepping Your Meat
Proper preparation is key to achieving tender, flavorful canned venison. Start by:
- Trimming Fat and Silver Skin: These can turn rancid over time, so remove them thoroughly.
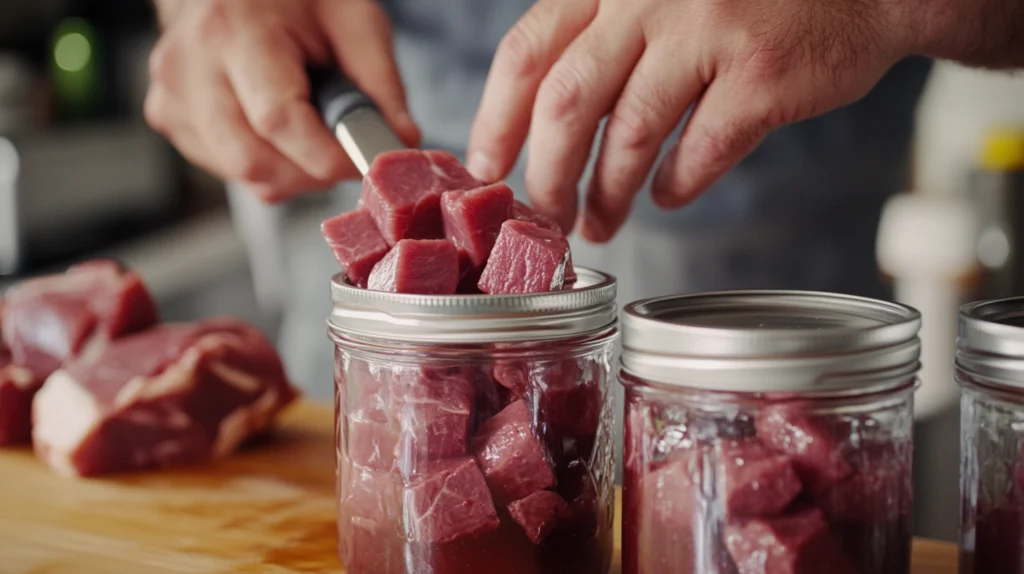
- Cutting Meat Into Cubes: Aim for uniform sizes for even cooking.
Raw Pack vs. Hot Pack: Which Method to Choose
There are two main ways to pack your jars:
- Raw Pack: Place raw meat directly into jars. This method is quicker but can result in more shrinkage.
- Hot Pack: Brown the meat before packing. This enhances the flavor but takes extra time.
Step-by-Step Guide to Canning Deer Meat
Sterilizing Jars the Right Way
Start with clean, sanitized jars to ensure food safety:
- Wash jars in hot, soapy water.
- Sterilize them in boiling water or the dishwasher’s sanitize cycle.
Packing the Meat: Tips for Perfect Jars
Once your jars are ready:
- Fill Tightly: Pack meat cubes snugly, leaving 1 inch of headspace.
- Add Salt: Sprinkle 1 teaspoon per quart (or ½ teaspoon per pint).
- Optional Add-Ins: Layer in veggies or seasonings as desired.
Using a Pressure Canner: Timings and Safety Tips
- Place the filled jars in your pressure canner.
- Add water per your canner’s instructions (usually 2-3 inches).
- Seal the lid and heat until steam vents for 10 minutes.
- Apply the correct pressure and process for the recommended time.
- Let the canner cool naturally before opening to prevent sudden pressure changes.

Storage and Shelf Life : Canned Deer Meat Recipes
How to Store Your Canned Deer Meat Safely
Once you’ve successfully canned your deer meat, proper storage is essential for keeping it safe and delicious for the long haul. First, always ensure the jars are sealed. A properly sealed lid will have a concave shape and won’t flex when pressed. If a jar didn’t seal, refrigerate it immediately and use it within a few days.
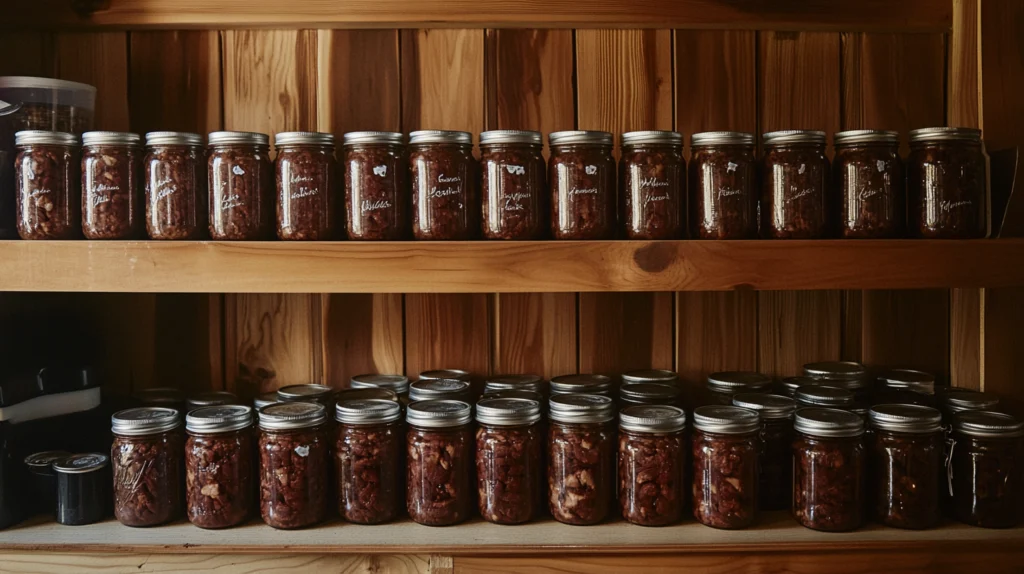
Store your sealed jars in a cool, dark, and dry place, such as a pantry or cellar. Temperatures between 50–70°F are ideal. Avoid areas with direct sunlight or extreme temperature fluctuations, as these can degrade the quality of the meat.
Tips for Long-Lasting Freshness
Here’s the trick for keeping your canned venison as fresh as possible:
- Label Each Jar: Write the date of canning on the lid so you can keep track of its age.
- Rotate Your Stock: Use the “first in, first out” method to consume older jars first.
- Inspect Before Use: Always check the seal and smell the contents before using. If anything seems off, discard it immediately.
Properly canned and stored venison can last 3–5 years or more, but for best quality, aim to use it within 2 years.

Serving Ideas for Canned Deer Meat Recipes
Delicious Ways to Use Canned Deer Meat Recipes
Canned deer meat is incredibly versatile, making meal prep quick and easy. Whether you’re whipping up a hearty dinner or a quick lunch, canned venison has you covered. Here are some crowd-pleasers:
- Over Rice or Mashed Potatoes: Heat the meat with its natural juices and serve it over fluffy rice or creamy potatoes.
- In Sandwiches: Shred the meat and mix it with BBQ sauce for a delicious sandwich filling.
- In Soups and Stews: Add canned venison to a pot of vegetables and broth for a comforting bowl of stew.
Recipe Suggestions: Soups, Stews, and Tacos
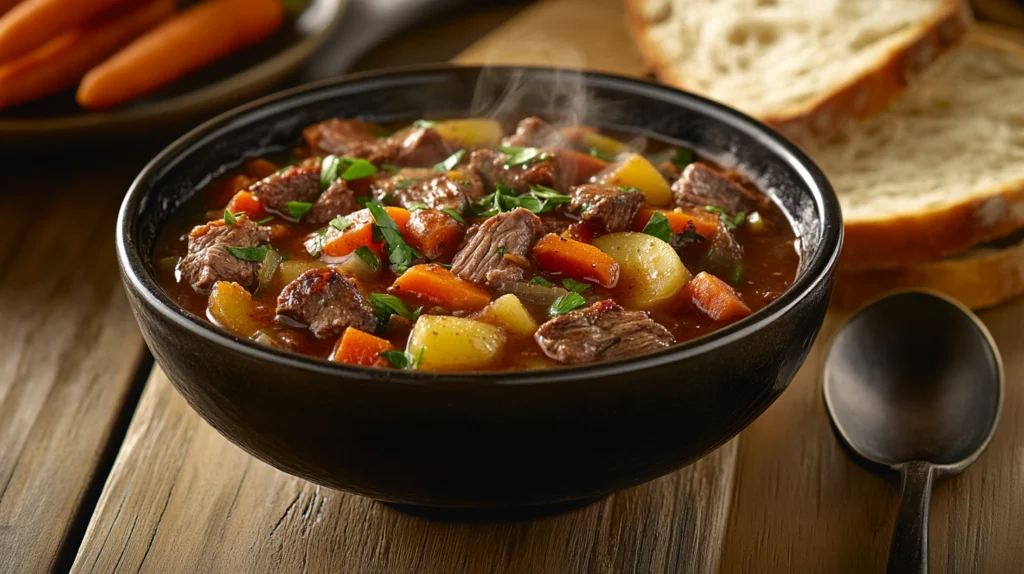
- Venison Stew: Combine canned deer meat with potatoes, carrots, onions, and beef broth for a hearty, flavorful meal.
- Venison Tacos: Shred the meat, season it with taco spices, and serve in warm tortillas with your favorite toppings.
- Chili: Toss canned venison into a pot with beans, tomatoes, and spices for a robust chili that’s perfect for cold nights.
If you love pairing your savory venison meals with a sweet dessert, don’t forget to check out this The Best Carrot Cake Recipe for inspiration!

Troubleshooting Common Issues
What to Do If Jars Don’t Seal
If a jar doesn’t seal after processing, don’t panic. Here’s what you can do:
- Refrigerate the unsealed jar immediately and use it within 3–4 days.
- Reprocess the jar within 24 hours. Replace the lid, check the rim for debris, and process it again for the full time.
Remember, the seal is critical for food safety. If you’re unsure, it’s always better to err on the side of caution.
Avoiding Common Canning Mistakes
To ensure your canned deer meat recipes turn out perfectly every time, avoid these common pitfalls:
- Skipping the Venting Step: Always vent your pressure canner for at least 10 minutes to release trapped air.
- Overfilling Jars: Leave at least 1 inch of headspace to prevent spills and improper sealing.
- Neglecting to Wipe Rims: Clean rims ensure a proper seal, so don’t skip this step.
If you’re looking for meal ideas that complement your canned venison, check out these 5 Reasons to Love Passover Potato Pie to complete your dinner table.
FAQs About Canned Deer Meat Recipes
What is the best way to eat canned venison?
Canned venison is best enjoyed in simple, hearty dishes. Heat it with its natural juices for a quick protein fix, or incorporate it into stews, tacos, and casseroles. Pair it with 5 Reasons to Love Passover Potato Pie for an extra burst of flavor!
How long will Canned Deer Meat Recipes last?
Properly canned and stored venison can last up to 5 years, though it’s best used within 2 years for peak flavor and texture. Always check the seal and quality before consuming.
Is Canned Deer Meat Recipes good?
Absolutely! Canned deer meat retains its natural flavors and becomes incredibly tender during the canning process. It’s a fantastic way to enjoy venison in various dishes while saving time in the kitchen.
Do you soak deer meat before canning?
It’s not necessary to soak deer meat before canning, but some people prefer to soak it in saltwater overnight to reduce the gamey flavor. If you like a milder taste, this step might be worth trying.
Conclusion Canned Deer Meat Recipes
Enjoy Your Homemade Canned Deer Meat Recipes
Congratulations—you’ve mastered the art of canned deer meat recipes! Not only have you preserved your venison for the long haul, but you’ve also opened the door to countless quick and delicious meals. Whether you’re making a savory stew, hearty tacos, or a flavorful pot roast, canned venison is your secret weapon in the kitchen.
Try These Recipes and Share Your Creations!
Now it’s your turn to get creative! Experiment with seasonings, try different serving ideas, and make these recipes your own. Don’t forget to share your favorite canned venison meals with family and friends—they’ll love the convenience and flavor just as much as you do.

