Introduction
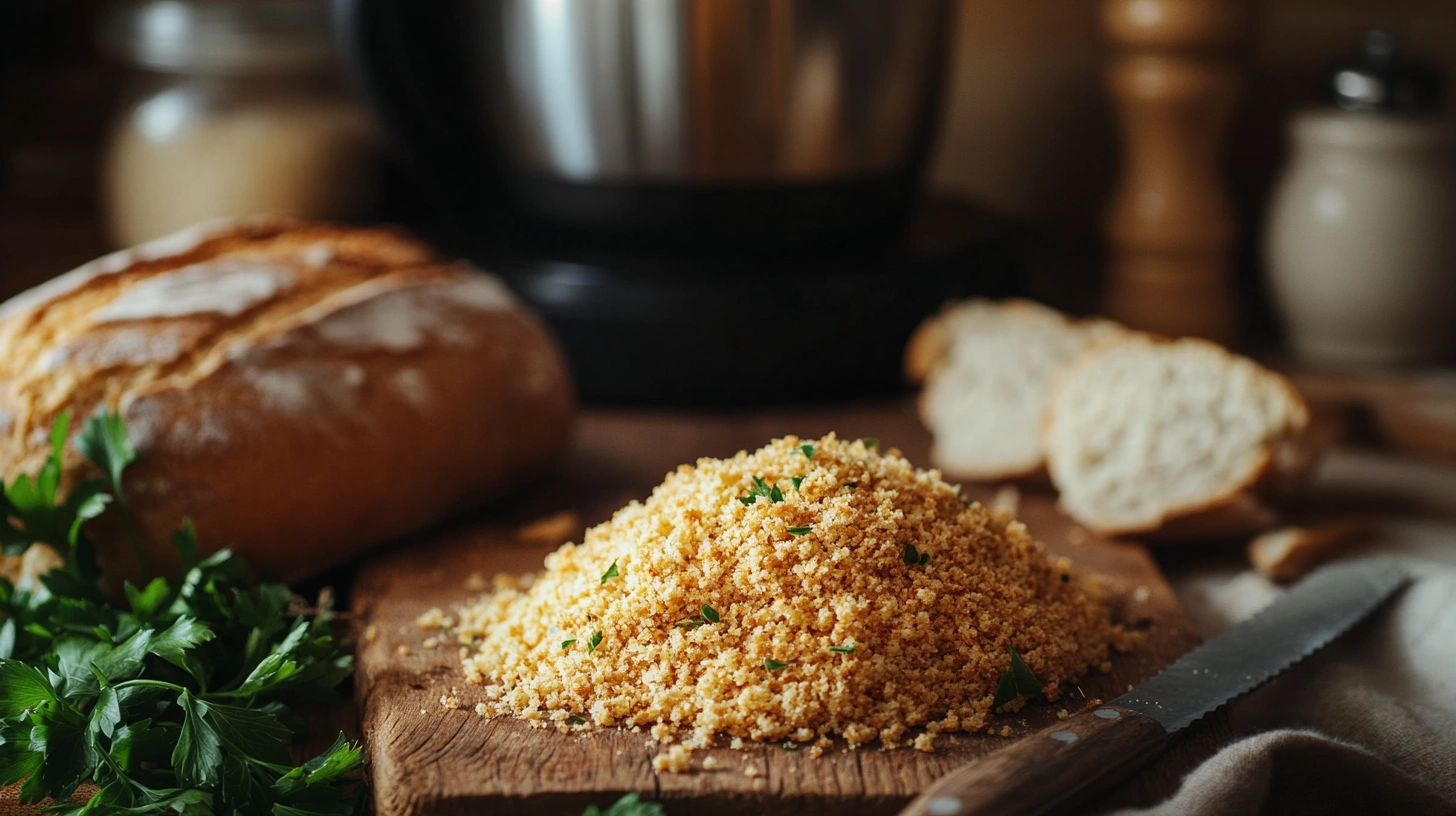
If there’s one kitchen staple I can’t live without, it’s breadcrumbs. Whether you’re coating chicken for a crispy crust, topping off a creamy casserole, or binding your favorite meatballs, bread and crumbs bring a delightful texture and flavor to countless dishes. But have you ever thought about making your own? Trust me, it’s easier than you think, and the benefits are worth it!
I started making breadcrumbs at home a few years ago when I realized how much stale bread I was tossing out. It felt like such a waste, and I wanted to make the most of my groceries. Fast forward to now—I always have a stash of homemade breadcrumbs ready to go, and the flavor beats anything you’d find at the store.
Table of Contents
Why Make Your Own Bread and Crumbs?
Making your own bread and crumbs gives you control over flavor, texture, and ingredients. Here are some reasons to give it a shot:
- Better Flavor: Homemade breadcrumbs can be seasoned exactly how you like them—garlic, Italian herbs, or even a pinch of lemon zest for something bright.
- Reduce Food Waste: Have stale bread lying around? Instead of throwing it out, turn it into breadcrumbs!
- Customizable Texture: Whether you like super fine crumbs or chunky, homemade lets you get it just right.
- Healthier Option: You can avoid preservatives and extra salt found in many store-bought options.
Why Homemade Bread And crumbs Are a Game-Changer
Let’s be honest—store-bought breadcrumbs are convenient, but they can’t compete with the real deal. Making breadcrumbs at home gives you total control over flavor, texture, and freshness. Plus, it’s a great way to use up that forgotten loaf of bread sitting on your counter. The texture of homemade breadcrumbs is unbeatable—you can make them as fine or as chunky as you need, depending on the dish. Craving that light crunch for your breaded chicken? Go with panko-style crumbs. Want a rustic topping for a casserole? Opt for hand-crushed chunks. The possibilities are endless, and the best part? No additives, preservatives, or mystery ingredients—just simple, wholesome bread turned into magic.
Ingredients and Tools
Choosing the Right Bread for Your Crumbs
The beauty of breadcrumbs is that you can use almost any type of bread. Here are some options to consider:
- White Bread: Classic choice for smooth, mild breadcrumbs.
- Whole Wheat: Adds a nuttier flavor and more fiber.
- Sourdough: Perfect for breadcrumbs with a tangy kick.
- French or Italian Loaf: Ideal for chunkier breadcrumbs with a light, airy texture.
- Stale Bread: The drier, the better! Fresh bread works too, but you’ll need to dry it first.
Essential Tools: What You’ll Need
Before you get started, make sure you have the right tools on hand. Here’s what you’ll need:
- Food Processor: The quickest way to get even crumbs.
- Rolling Pin: Great for crushing bread manually if you don’t have a processor.
- Non-Stick Baking Sheets: For toasting bread evenly without sticking.
- Sharp Knife: To cut bread into smaller pieces.
- Airtight Containers: For storing your breadcrumbs once they’re done.
Step-by-Step Instructions
Preparing the Bread: Fresh vs. Stale
If you’re using stale bread, you’re already one step ahead—it’s perfect for making breadcrumbs because it’s dry and easy to crumble. For fresh bread:
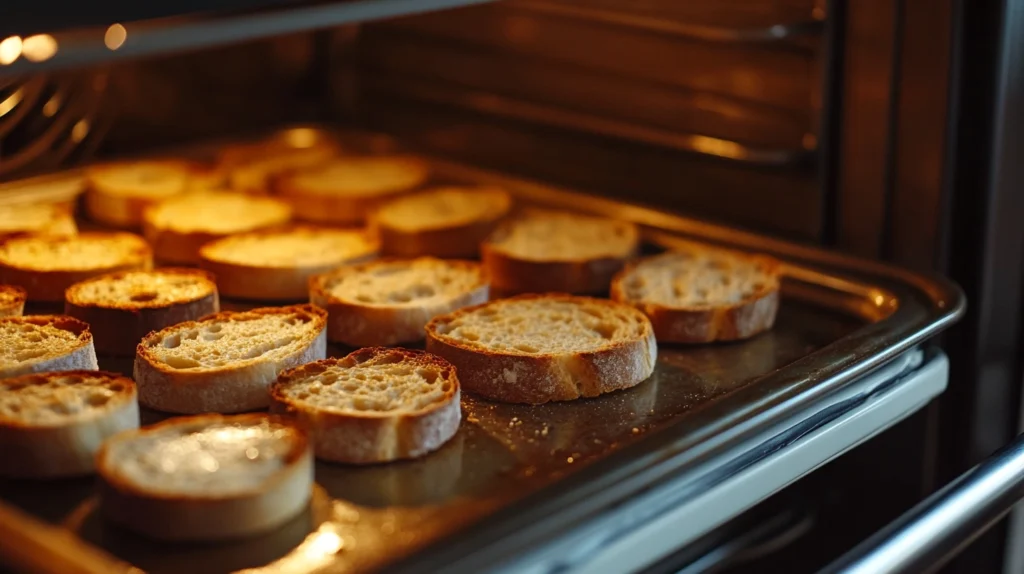
- Slice and Dry: Cut the bread into thin slices or cubes. Lay them out on a baking sheet and let them sit out overnight to dry. If you’re in a hurry, pop them in the oven at a low temperature (around 200°F) for 10–15 minutes.
Drying and Cutting: The First Step to Perfect Crumbs
Once your bread is dry, it’s time to prep:
- Remove Crusts (Optional): For super fine bread and crumbs, you might want to remove the crusts.
- Cut Into Pieces: Chop the bread into smaller chunks for easy processing or crushing.
Crushing and Grinding: Food Processor or By Hand
Now comes the fun part—turning your bread into crumbs:
- Food Processor: Toss the bread chunks into your processor and pulse until you reach the desired consistency. For panko-style breadcrumbs, keep the crumbs coarser.
- By Hand: Place the bread pieces in a plastic bag, seal it, and crush them with a rolling pin. This method gives a more rustic texture.
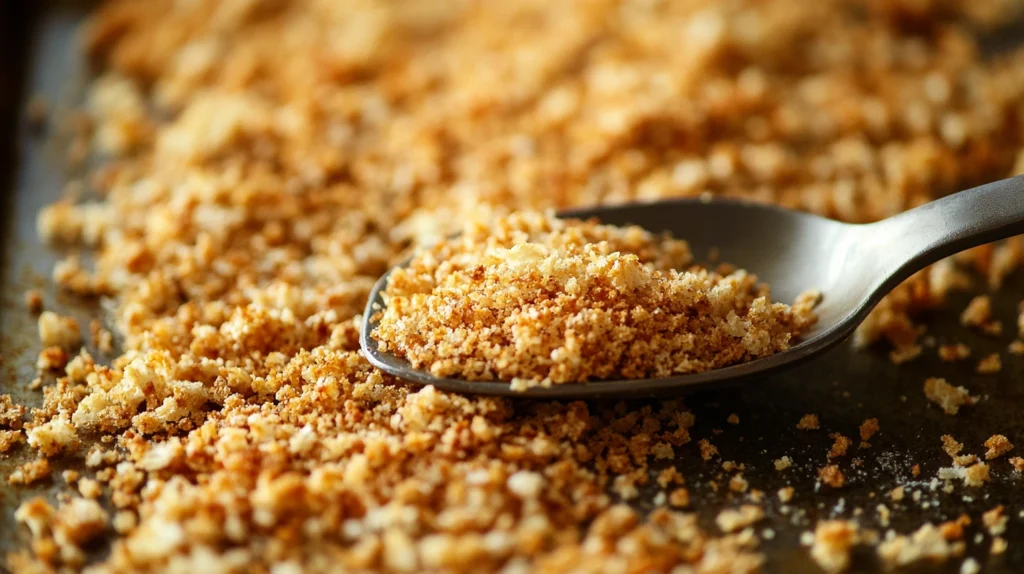
Toasting and Baking: Getting That Golden Crunch
This step is where your breadcrumbs go from good to great:
- Spread Out: Lay the breadcrumbs in a single layer on a baking sheet.
- Bake: Toast them at 300°F for 10–15 minutes, stirring halfway through. Look for a light golden color.
- Season (Optional): While the breadcrumbs are still warm, mix in any seasonings you like—garlic powder, Italian herbs, or grated cheese work beautifully.
Variations and Seasonings
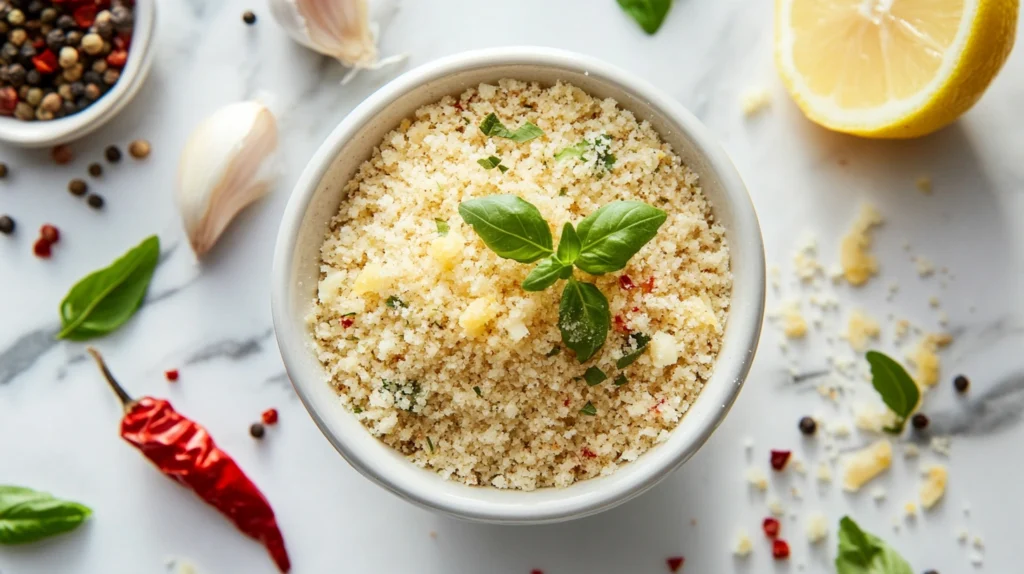
Italian-Style Bread Crumbs: Adding Herbs and Spices
To make Italian-style bread and crumbs, mix your toasted crumbs with:
- Garlic powder
- Onion powder
- Dried basil and oregano
- Grated Parmesan cheese
This blend is perfect for breading chicken or sprinkling over pasta dishes.
Creative Add-Ons: Cheese, Lemon Zest, and More
For a more unique flavor profile, try adding:
- Lemon Zest: Brightens up any recipe, especially seafood dishes.
- Cheese: Grated pecorino or Parmesan takes breadcrumbs to the next level.
- Red Pepper Flakes: For a spicy kick.
- Fresh Herbs: Add chopped parsley or thyme for a fresh, earthy aroma.
Storage and Usage Tips
How to Store Bread and Crumbs for Maximum Freshness
Now that you’ve perfected your bread and crumbs, let’s make sure they stay fresh and ready for use. Proper storage is key, and it’s easier than you think.
- Room Temperature Storage: Store your breadcrumbs in an airtight container or jar to keep moisture out. This works great for plain breadcrumbs and keeps them fresh for about a month.
- Freezing for Long-Term Storage: If you’ve made a big batch, freeze them! Use freezer-safe bags or containers, and don’t forget to label the date. They’ll last up to three months this way.
- Re-crisping Tips: If your breadcrumbs lose their crunch after freezing, spread them on a baking sheet and toast them at 300°F for a few minutes to bring them back to life.
Fun Ways to Use Bread and Crumbs in Recipes
Bread and crumbs aren’t just for coatings—they’re incredibly versatile. Here are some of my favorite ways to use them:
- As a Coating: Use bread and crumbs to create tender and flavorful meatballs, as featured in our Alfredo Meatballs recipe.
- Topping for Dishes: Add crunch to casseroles, mac and cheese, or even pasta
- Binding Agent: Bread and crumbs are perfect for holding together patties or meatloaf.
- Creative Side Dishes: Pair breadcrumbs with crispy sides like our Homemade Onion French Fries for a satisfying crunch.
Recipe Science
The Process Behind Drying, Grinding, and Toasting
Let’s break down the magic behind your bread and crumbs:
- Drying: Removing moisture is crucial. This step ensures your bread and crumbs stay crisp and don’t clump during storage.
- Grinding: Whether you’re using a food processor or crushing by hand, grinding creates the texture you want. Finer crumbs are great for coating, while chunkier ones add texture to toppings.
- Toasting: Toasting enhances flavor by bringing out a nutty, golden richness in the breadcrumbs. This makes all the difference in your final dish.
FAQs and Troubleshooting
Common Questions About Making Bread Crumbs
What is the meaning of bread crumbs?
Bread crumbs are small pieces of dried bread used in cooking, often as a coating or topping.
What are bread crumbs made of?
Breadcrumbs are simply made of bread that’s been dried and ground into small pieces. You can use any type of bread, from white to whole wheat.
What is the meaning of bread crunching?
Bread crunching refers to the crispy sound and texture of toasted or baked breadcrumbs when eaten.
What does “bread crumbs” mean in slang?
In slang, “breadcrumbs” often refers to hints or clues left behind to guide someone, much like Hansel and Gretel in the fairy tale.
Tips for Perfecting Your Recipe
To make sure your bread and crumbs turn out amazing every time, keep these tips in mind:
- Dry Thoroughly: Ensure your bread is completely dry before grinding to prevent sogginess.
- Avoid Over-Grinding: Pulse in short bursts if you’re using a food processor to avoid turning your breadcrumbs into powder.
- Season Strategically: Add seasonings after toasting while the crumbs are warm for better absorption.
- Experiment with Bread Types: Try sourdough for tangy crumbs or rye for a deeper flavor.
Conclusion
Your Homemade Bread Crumbs Journey
Making your own bread and crumbs is a simple, rewarding way to elevate your cooking. Not only can you reduce food waste and save money, but you also get full control over the flavor and texture of your crumbs.
So, what are you waiting for? Grab that stale bread, break out your tools, and start experimenting! Whether you’re coating chicken, topping mac and cheese, or binding meatballs, homemade breadcrumbs will always add that special touch to your meals. Don’t forget to check out our Hillbilly Fish Fry Seasonings Recipe for an exciting way to use your crumbs.
Remember: Cooking is all about having fun and making it your own. Try different seasonings, use various breads, and share your creations with friends and family. You’ve got this—happy cooking! 🍞✨