Introduction
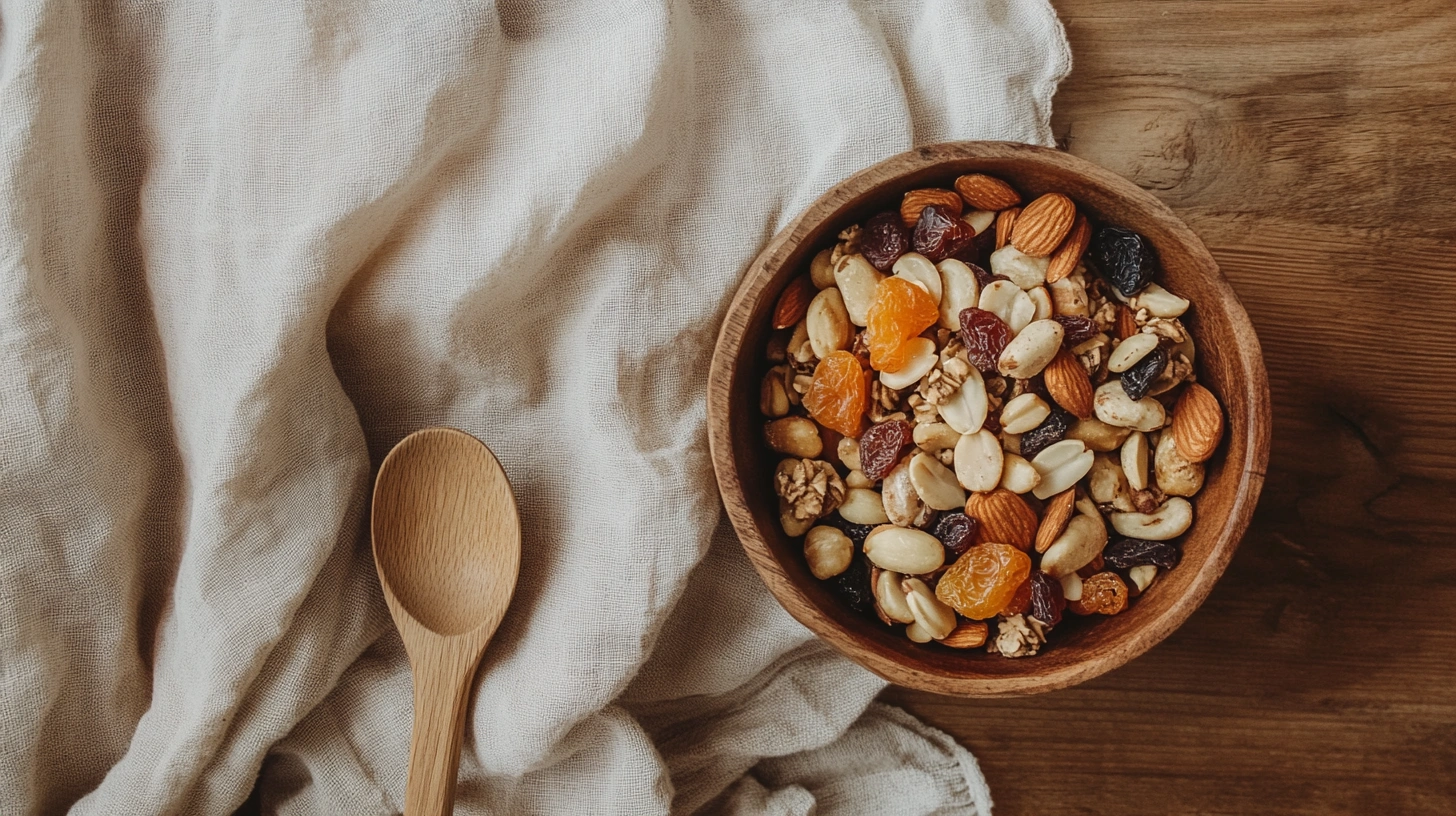
I’ve always been a big fan of snacks that are not only delicious but also nutritious and easy to carry around. Whether I’m heading out for a hike, working long hours, or just craving something tasty between meals, trail mix has been my go-to snack. The best part? You can customize it with your favorite ingredients to match your taste and dietary preferences.
After trying several store-bought versions, I realized that making my own homemade trail mix was not only cheaper but also allowed me to control the ingredients, ensuring a perfect balance of flavors and textures. In this recipe, I’ll walk you through creating a simple, nutritious, and absolutely delicious trail mix that you can enjoy anytime.
Let’s dive into the details!
Ingredients for Trail Mix
The beauty of trail mix lies in its versatility. Here’s what you’ll need for a basic yet flavorful mix:
Nuts & Seeds (for crunch and protein)
- 1 cup almonds (raw or roasted)
- 1 cup cashews
- 1/2 cup pecans or walnuts
- 1/2 cup pumpkin seeds (pepitas)
- 1/4 cup sunflower seeds
Dried Fruits (for natural sweetness)
- 1/2 cup raisins or cranberries
- 1/2 cup chopped dried apricots
- 1/2 cup dried banana chips
- 1/4 cup coconut flakes (optional)
Extras (for variety and texture)
- 1/2 cup dark chocolate chips
- 1/2 cup yogurt-covered raisins
- 1/4 cup granola clusters
- 1/4 cup pretzel pieces (for a salty kick)
Optional Add-ins:
- A pinch of sea salt
- A dash of cinnamon or cocoa powder for extra flavor
Step-by-Step Guide to Making Trail Mix
Step 1: Gather Your Ingredients
Before you start, ensure all your ingredients are fresh and ready to go. If you’re using raw nuts, you might want to toast them lightly in a pan or oven to enhance their flavor.
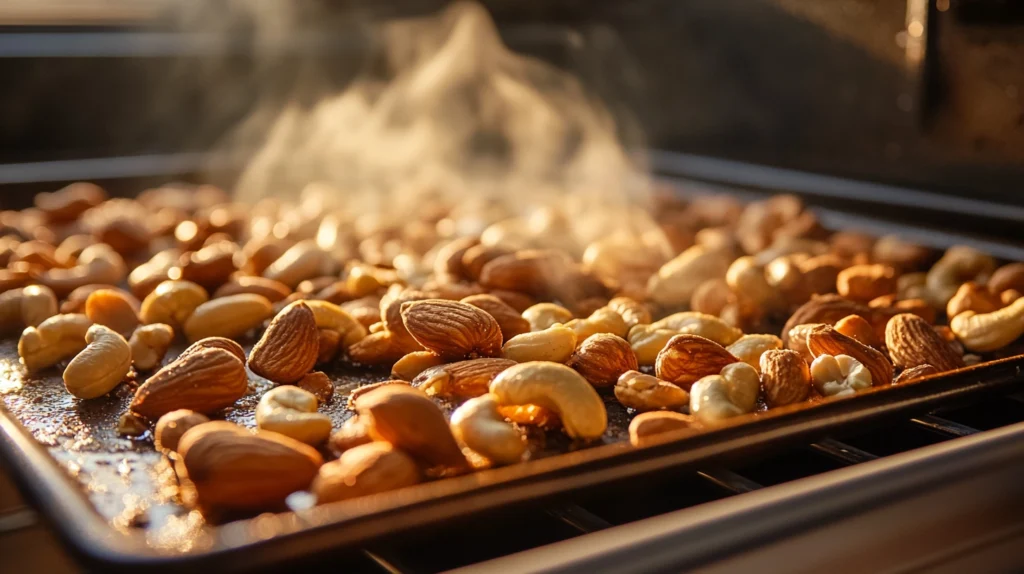
Step 2: Roast the Nuts (Optional, but Recommended)
If you prefer a crunchier, more flavorful mix, roasting your nuts is a great idea:
- Preheat your oven to 350°F (175°C).
- Spread the almonds, cashews, and other nuts on a baking sheet.
- Roast for 7-10 minutes, stirring occasionally until they become golden brown.
- Let them cool before mixing.
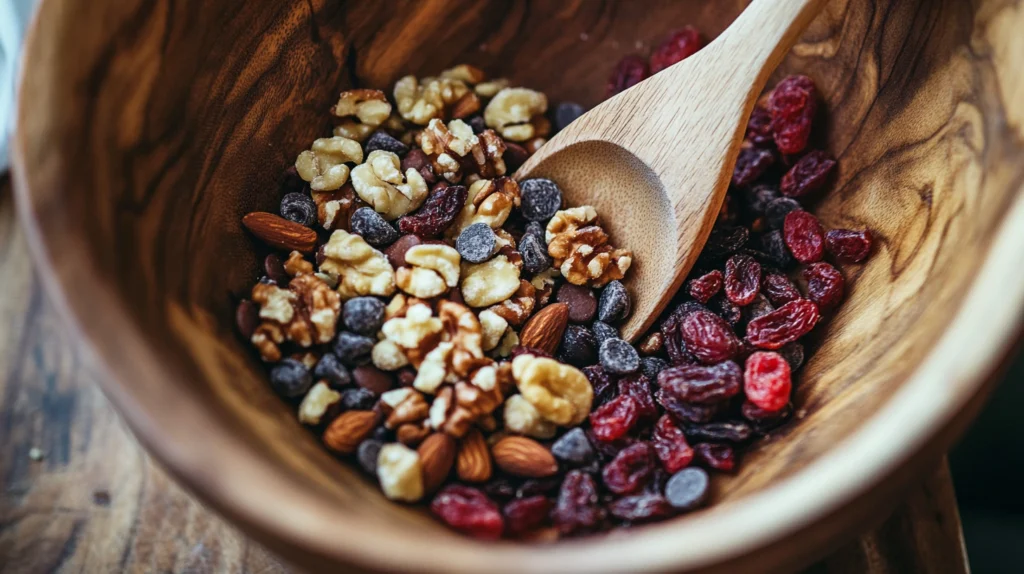
Step 3: Mix the Ingredients
In a large bowl, combine all the nuts, dried fruits, and extras. If you’re adding granola, chocolate chips, or pretzels, mix them in last to prevent breakage.
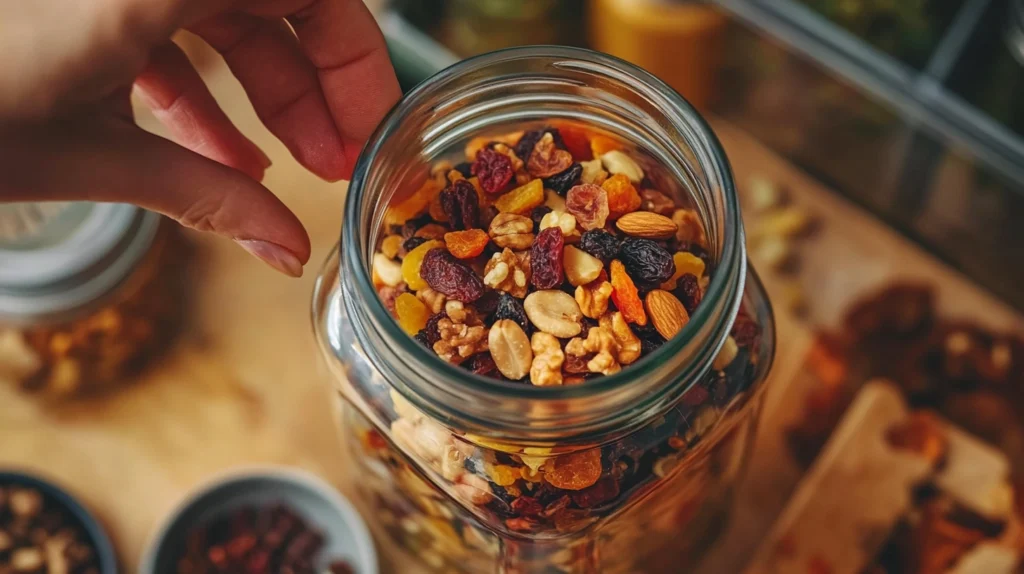
Step 4: Store Your Trail Mix Properly
To keep your trail mix fresh and crunchy, store it in an airtight container or ziplock bag. It should last for up to 2-3 weeks at room temperature or even longer in the refrigerator.
Tips & Variations
1. Healthier Version
- Skip the chocolate and use cacao nibs for a natural chocolatey taste.
- Use unsweetened dried fruit to avoid added sugars.
- Add chia seeds or flaxseeds for an extra nutrient boost.
2. Kid-Friendly Trail Mix
- Swap nuts for cereal or popcorn if allergies are a concern.
- Add fun ingredients like mini marshmallows or colorful candy pieces.
3. Savory Trail Mix
- Reduce dried fruit and add cheese crackers or spicy roasted chickpeas for a unique twist.
- Sprinkle garlic powder, smoked paprika, or cayenne pepper for an extra kick.
Why You Should Make Your Own Trail Mix
1. Cost-Effective & Customizable
Store-bought trail mixes can be expensive and often contain preservatives or excessive sugars. Making your own lets you control the ingredients.
2. Perfect for Meal Prep
Trail mix is easy to portion into snack-sized bags for quick and healthy on-the-go snacks.
3. Ideal for Any Occasion
Whether you’re hiking, working, studying, or just lounging at home, trail mix is the perfect balanced snack that satisfies cravings without guilt.
Related Recipes for More Snack Inspiration
Looking for more healthy and delicious snack recipes? Check out these amazing ideas:
- Discover great ideas like Fruit Bowl Recipe for a fresh, fruity snack.
- Don’t miss our 4-Ingredient Oat Banana Bread for an easy breakfast alternative.
- Check out Cheesy Potato Casserole if you love savory, comfort food.
- Looking for inspiration? Try Sprinkle Sugar Cookies for a sweet, fun treat.
Conclusion
Making your own homemade trail mix is one of the easiest ways to create a healthy, delicious, and customizable snack. Whether you like it sweet, salty, or somewhere in between, there’s a combination out there just for you. Give this recipe a try, experiment with different ingredients, and enjoy a snack that’s perfect for any occasion!